How To Install Outdoor Landscape Lighting On A Tiny Home
One of the benefits of living tiny is having the ability to experience the outdoors more often. A more common question for us is "What do you do when people come over?" Easy answer, we go outside.
Having people over is a lot of fun at our place. Our neighbors are friendly and there's enough to do outside that we are never bored. Most of our guests come over for some grilling since its typically sunny in Florida. ☀️ So naturally, I think about the lighting needs around us at night. I see a lot of homes in the lighting industry lit up at night to display their homes. But like I said in another blog post called "The Reality of Tiny Living", there's always something to be changed in a tiny way in order to work and play in a tiny home.
There are a few reasons people install landscape lighting: 1) light up your recreational areas for guest entertainment; 2) show their landscape and home at night, 3) security.
This post may contain affiliate links. Read the disclaimer for more information.
Originally, we started with putting solar pathway lights around our plants on our lot. These do okay for lighting up small areas with some accent lighting but again they are solar so you get what you pay for. We opted for the nicer solar lights with glass and rechargeable battery back-up. They do ok for a couple of areas around our home where we couldn't easily put the wire. But honestly, we won't replace them when they break and trust me, they always do.
Next, I started thinking about how to add lighting to accent the architectural features on Tiffany. Of course, I opted for Kichler landscape lighting since they have been manufacturing landscape lighting for over 25 years and have a warranty on their integrated fixtures for 15 years, that's longer than most landscape manufactures have been in business. Warranties are only good if the companies are still around, some just use their warranty as a marketing ploy.
What we used
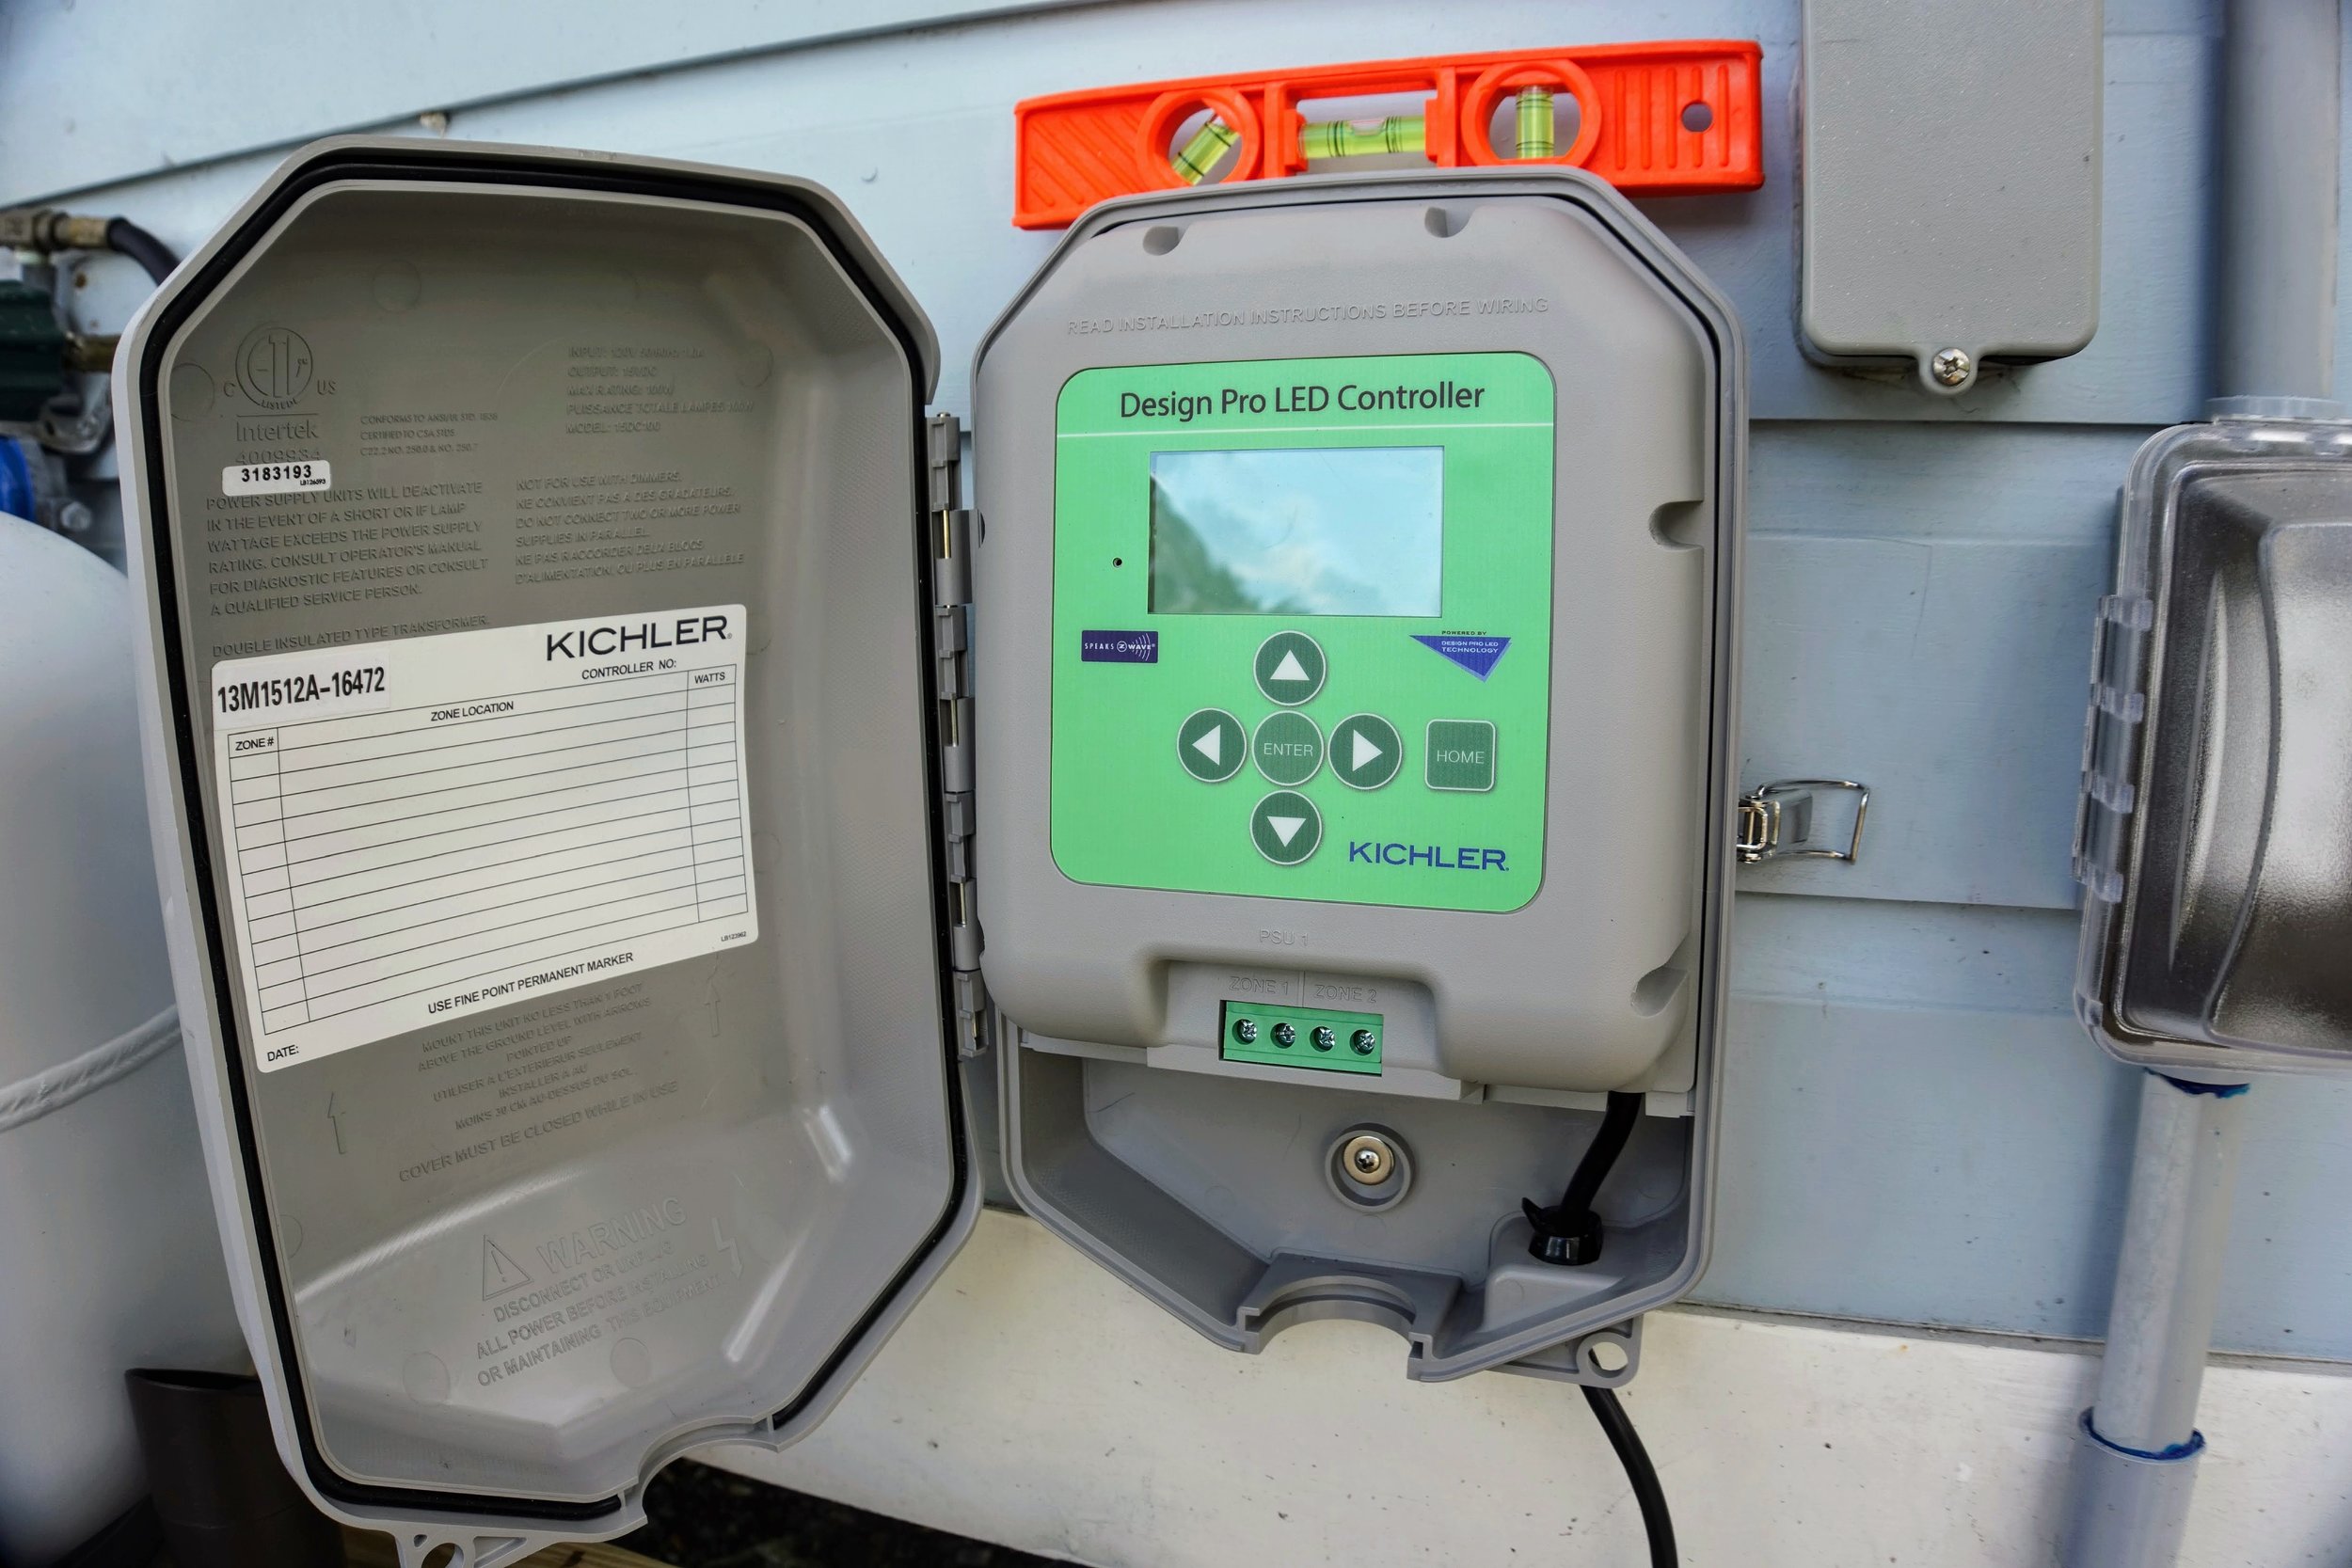
I went with the Kichler 100W DC low voltage transformer. There are a couple of neat things about this transformer. This being a lightweight DC transformer vs an AC, I can have more fixtures on the DC transformer as well as use lower gauge wire to tuck and hide around Tiffany's exterior. I can set up different lighting zones so if I want my light that reflects down on the ground to come on around sunset for grilling, it has that capability. Once I am done grilling and I want that light to go off, and the lights to turn on in the back of Tiffany, that helps Sam to park at night, it also provides security when we work late. If something goes wrong with one of my zones the transformer tells me which one needs to be adjusted - a quick fix. There is also a digital timer and GPS to calculate sunrise and sunset for scheduling shut on/off times.
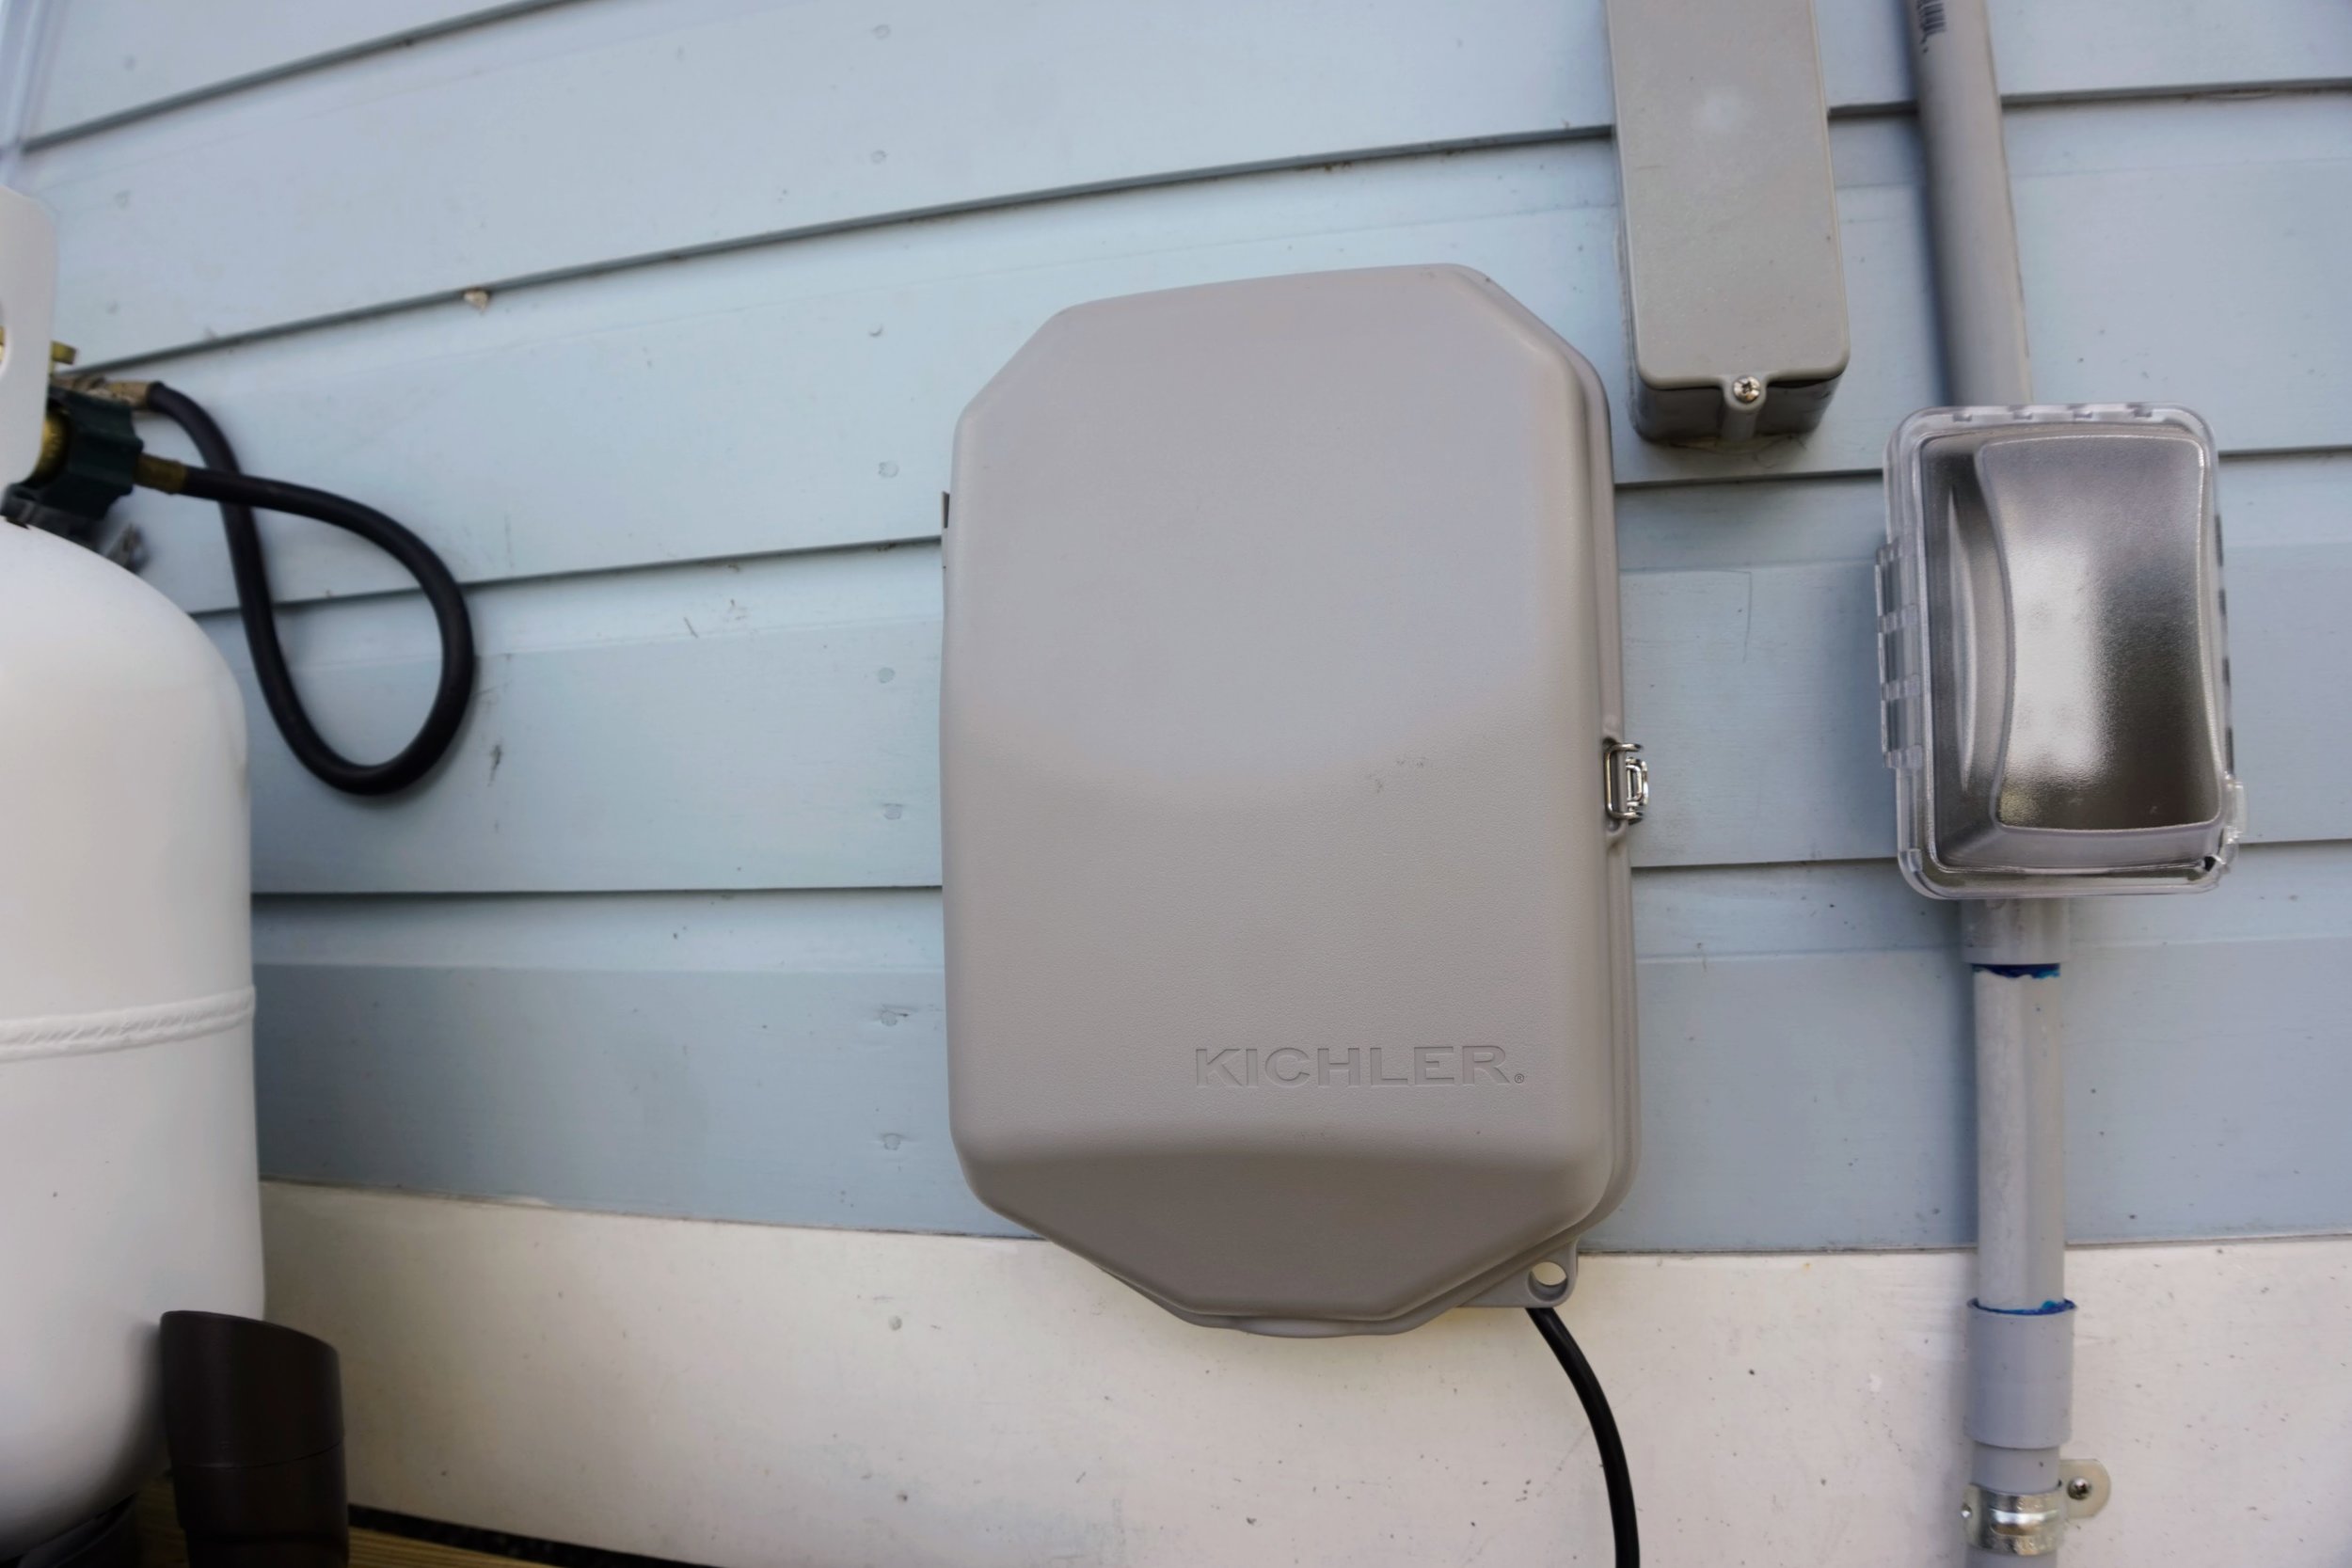
Most transformers are either black or steel, sometimes brown. I like that the Kichler DC transformer is the same composite as other electrical PVC pipes. It has a much cleaner look with no eyesore next to the other electrical equipment. It's also paintable if I wanted to color match whatever it is mounted to/near.
I chose the 100W for a couple of reasons. It gives me the ability to add more fixtures in the future and allows me to have the flexibility of adding other things like 12v tape lighting or holiday lighting. I doubt I will ever max it out but I am glad it's there if I need it.
Next, I selected Kichler’s VLO Gen 3 12v landscape fixtures for a tree mount installation. A couple of cool things going on with this powder-coated fixture that really sets it apart from other landscape fixtures
First off, it's packed with in-house technology from some of the best engineers in the lighting industry. This product allows you to customize the optics to eliminate a halo or scallops in your beam spread, the benefit is that it provides a nice clean dissipated light output. The guts of the fixture go through a three-step potting process leaving a rubber residue that hermetically seals the components from any exposure to moisture, fire ants, or natures outdoor elements. It also comes with a built-in surge protector. The VLO fixtures operate at the consistent light output from a 9v-15v. This means you have a wide window for voltage drop. What is the voltage drop?
"Voltage drop is a natural occurrence in low-voltage lighting systems. It is the gradual decrease in voltage that occurs along the length of the 12-volt power feed wires to the lighting and varies depending on the type and size of the LED light installations." according to Google.
Basically, the longer the wire-run is from the transformer, the voltage will drop and the impact is a lower or uneven light level; it doesn’t look good. However, the advantage of the Kichler VLO unit is that it needs only 9V-15V which a wide range to avoid voltage drop. Problem solved!
The coolest feature about this fixture is the Variable Lumen (Light output) capabilities. Three distinct levels used with a magnet control so there are no moving parts to fail in the fixture. This is great for landscape since vegetation grows and sometimes you need more light to fill in your bigger plant. In our case, it helps us see what level of brightness we wanted or the mood we were going for. If we want it on a low setting, we can do that. If we need more light we just tap our magnet to it, bam, more light with the same fixture.
How we installed it
While deciding what to do I took some advice from our previous article about "The Fundamentals of Lighting In A Tiny Home" and choose a 2700k color temperature. Our goal was to give it more of an accent ambient lighting.
We identified where to position the transformer and in order to avoid adding more ascetic PVC pipes to the vertical wall, we placed the transformer down low, this eliminated material we didn’t need. The unit uses two stainless steel screws to hold it down and I was done.
We attached the fixture to a tree mount accessory and used the side knock-out of the tree mount accessory to get the fixture in the correct angle so it would remain hidden. Typically, this side knock-out needs a watertight gasket to cover it for your wire since this has wire connections in it. The fixtures already had enough extra wire so no need to make connections inside the unit so it was left as is. Before you panic about moisture getting in from the bottom of the fixture, the manufacturer pre-installed a gasket in the stem of the fixture to eliminate that problem.
Next, we took our fixtures that are attached to the mount and positioned an equal distance away from each other while keeping in mind we had a 35-degree beam spread of light to work with.
We then mounted the fixtures under the wooden platform on the tongue of the trailer that holds the propane tanks. We liked this spot to mount the fixtures under since it was out of sight and although these fixtures are not bad eye candy, the goal was to hide the light source so you focused on the light effect and had a more minimal overall look to it. I just used outdoor wire clips, probably more than I needed. 💪
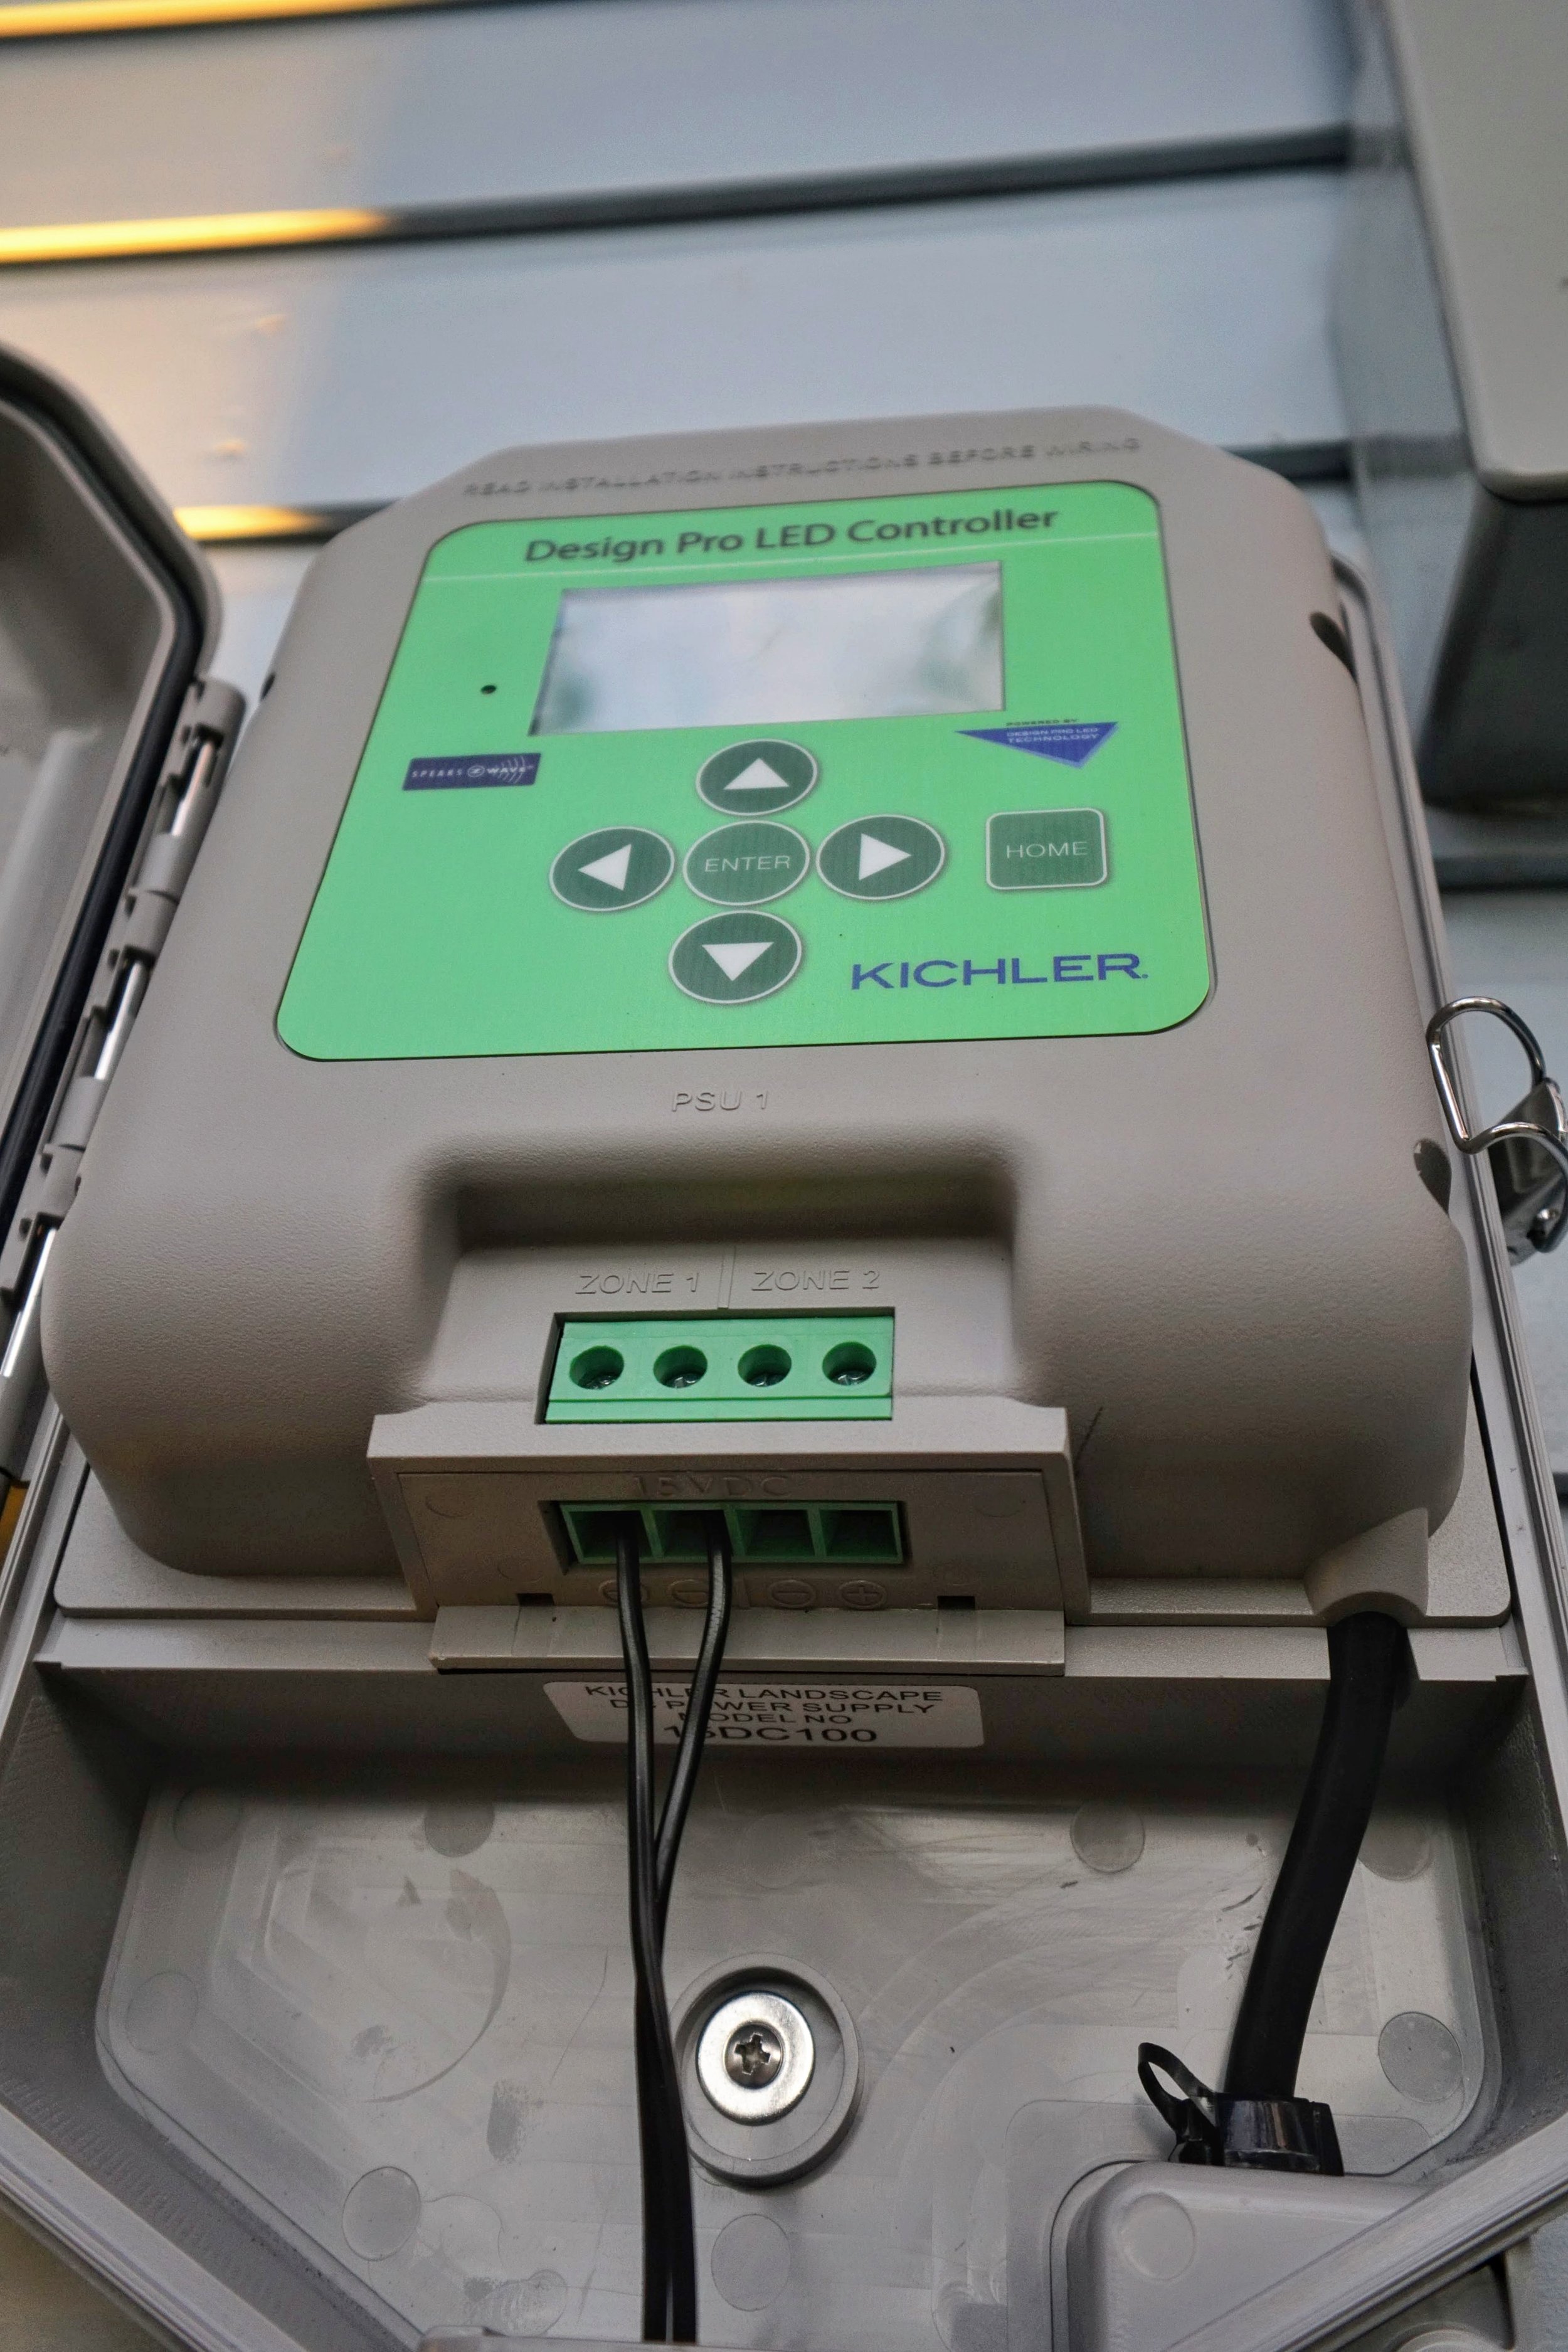
In the picture above, you can see we used outdoor wire nuts with silicone gel to make our connections together of the two lights and wire that runs into the transformer.
Set up was easy. I went through a couple of set-up screens to set up schedules and timers for sunset and sunrise.
Then we waited for sunset.
After the sun was starting to set a bit, we wanted to adjust the fixtures in how they were angled. All we needed was a standard Philips head. The picture below was before the adjustment. You can see that the left side looks slightly brighter than the right. This is caused because the light is facing more towards the house giving it a "hotspot". The goal was to give it a grazing effect on the siding of the house. More depth from shadows is a great evening visual.
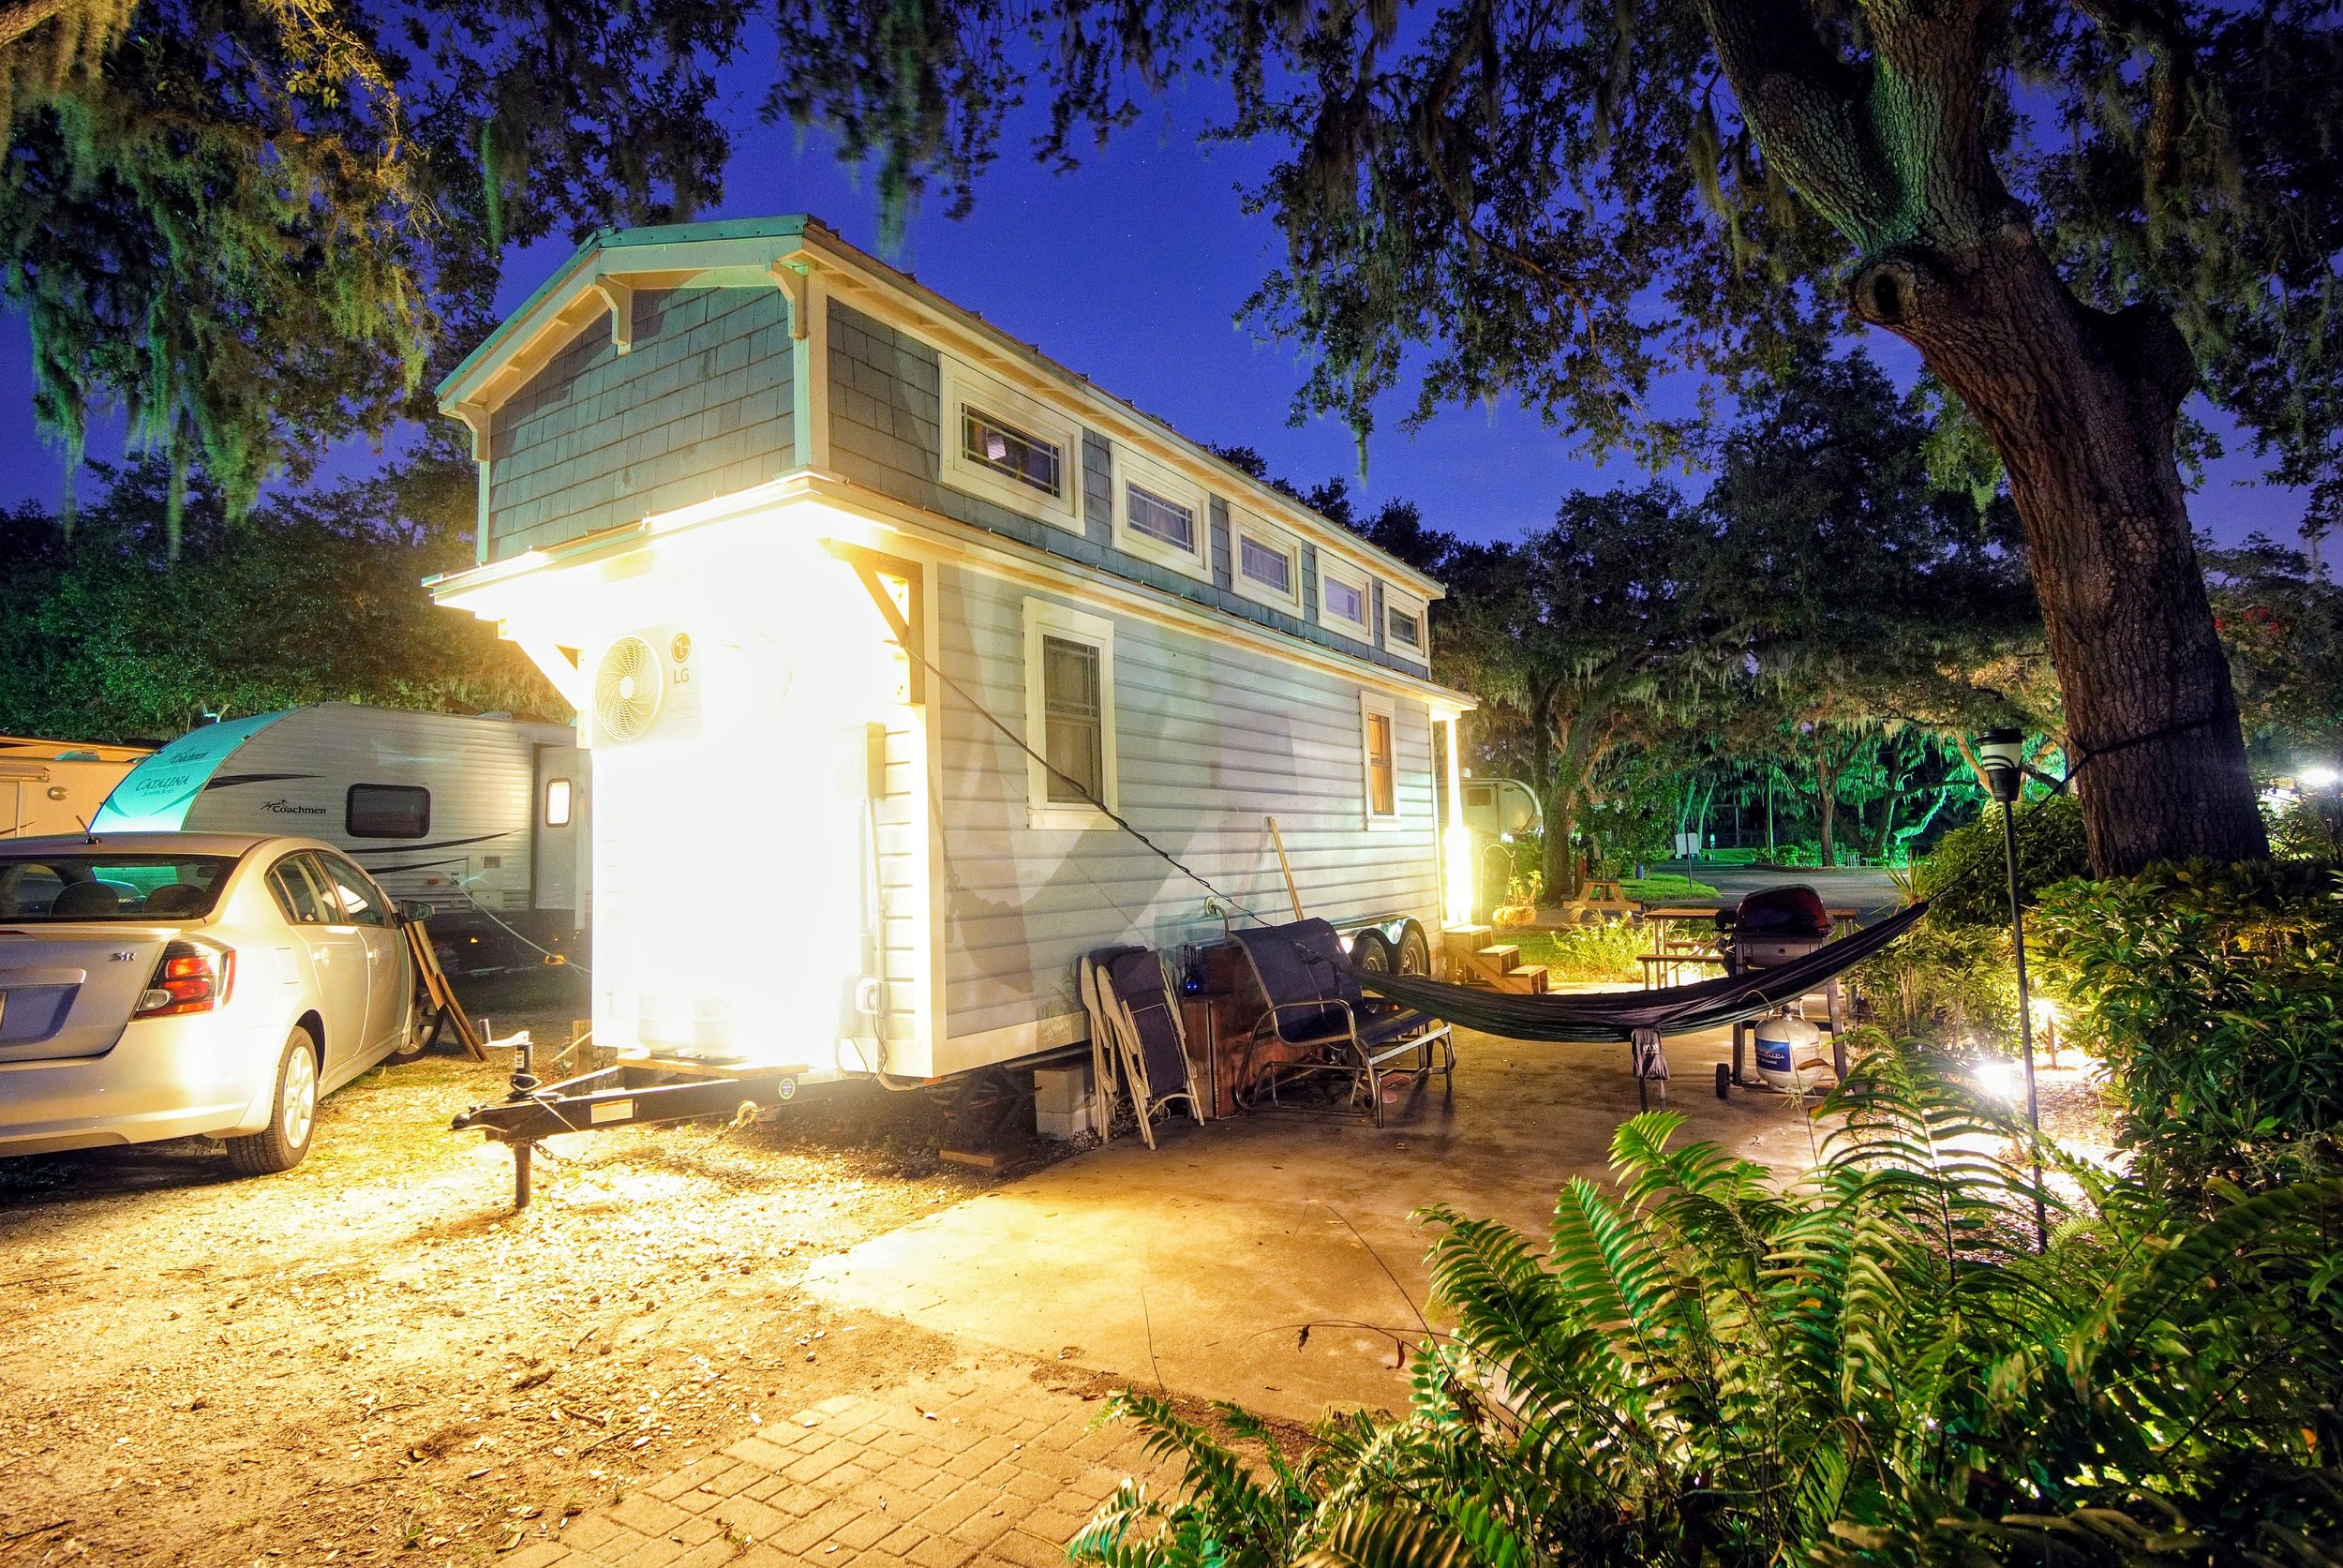
After adjusting the angles of the fixtures, you can see that it's an even spread of light and no distortions in the light output. This allows the light to graze the side of the house to hit the overhang at the top adding some indirect light if I need to do a task. Such as checking the propane tanks or breakers.
The light shooting up the house also makes it seem taller at night, tricks the eye.
End result
Overall, I am happy with the outcome and easy project if you have a Saturday morning. It accomplishes everything I need for lighting the back side of Tiffany. I will probably add to the lighting on the outside of Tiffany in time maybe some string bistro lights, but that's for another future lighting project.
-Tim


